
Products › BaseNode Packs › Smart Materials › Tutorial: Smart crate
Smart crate
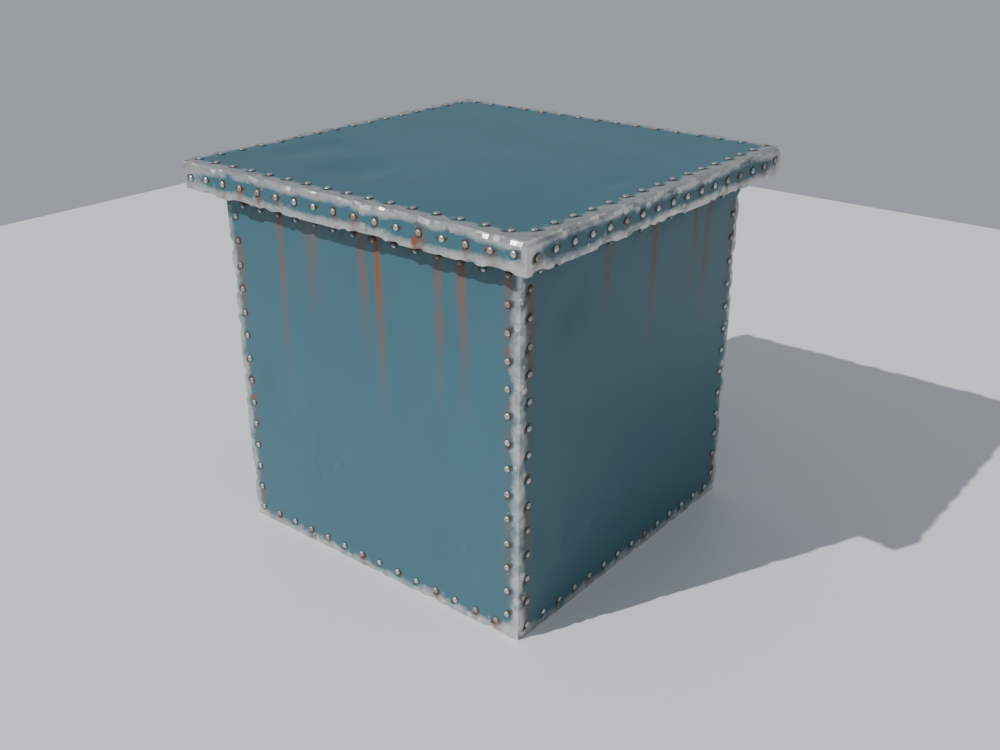
A painted steel crate, worn by the years: chipped edges, dents, rivets, rust run down from under its lid and from its rivets, paint run down its walls, dust on top. Nothing here is written from scratch. Every effect is a ready-made group of the standard library; this tutorial only shows how to put them together.
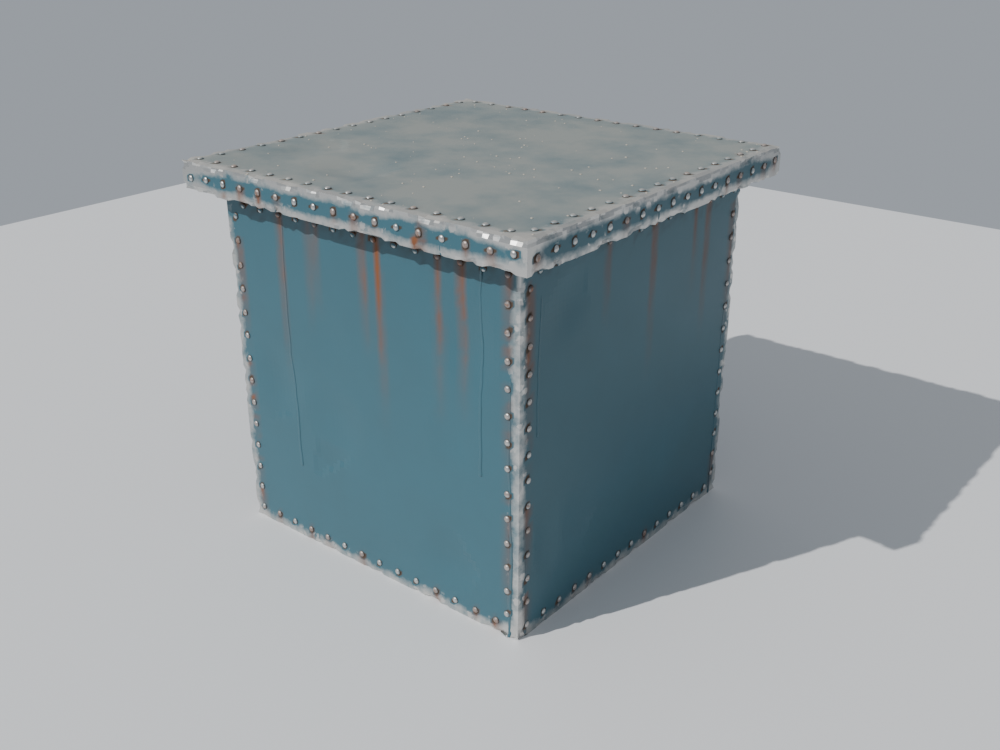
Before you start
You need Blender 5 and the Base Node add-on, version 0.12.1 or later, and the Smart Materials pack: it carries the three modules this tutorial assembles (mesh_maps, generators, mesh_effects). The steps below are free; the modules they call are not.
| Module | Kind | What it gives |
|---|---|---|
mesh_maps | geometry | Computes the maps a texture painter bakes, live: curvature, ambient occlusion, thickness, sky… and stores them on the mesh. |
generators | shader | Masks made from those maps, after Substance 3D Painter's generators: metal_edge_wear, dirt, dust, dripping_rust… |
mesh_effects | geometry and shader | What a painter can only fake, made in the mesh: dents, rivets, chip_edges, streaks, drips, dust_scatter. Each stores where it acted, and mesh_effects_read gives it back to the material. |
Every block below is a complete .bn file, its code beside the nodes it builds. Two ways to try a step:
- Drag it. Drag the file icon of its block, or its title, onto empty space in Blender's 3D Viewport, and keep Instantiate the Example: a new object carries
smart_crateat the 3D cursor. A click on the file icon downloads the file instead. - Paste it. Press the copy button of its block, open a Geometry Node editor, press Ctrl+Shift+V and pick Add as Modifier, on any mesh object: the graph makes its own crate.
The pictures are rendered from these exact files by render.py.
Two halves
A smart material here is two things that work together:
- A pipe of effects, in Geometry Nodes. The mesh goes through them one after the other, one line each:
|> dents(…),|> rivets(…)… Each takes the mesh, changes it, and passes it on. - A stack of layers, in the material. Each layer is a colour and a mask, laid over what is under it with a
Mix: paint, then bare steel where the mask of wear says, then rust, grime, dust.
The geometry measures, the material paints: the masks of the material read what the effects stored on the mesh. Adding wear is adding a line to the pipe, a layer to the stack, or both.
1. A painted crate
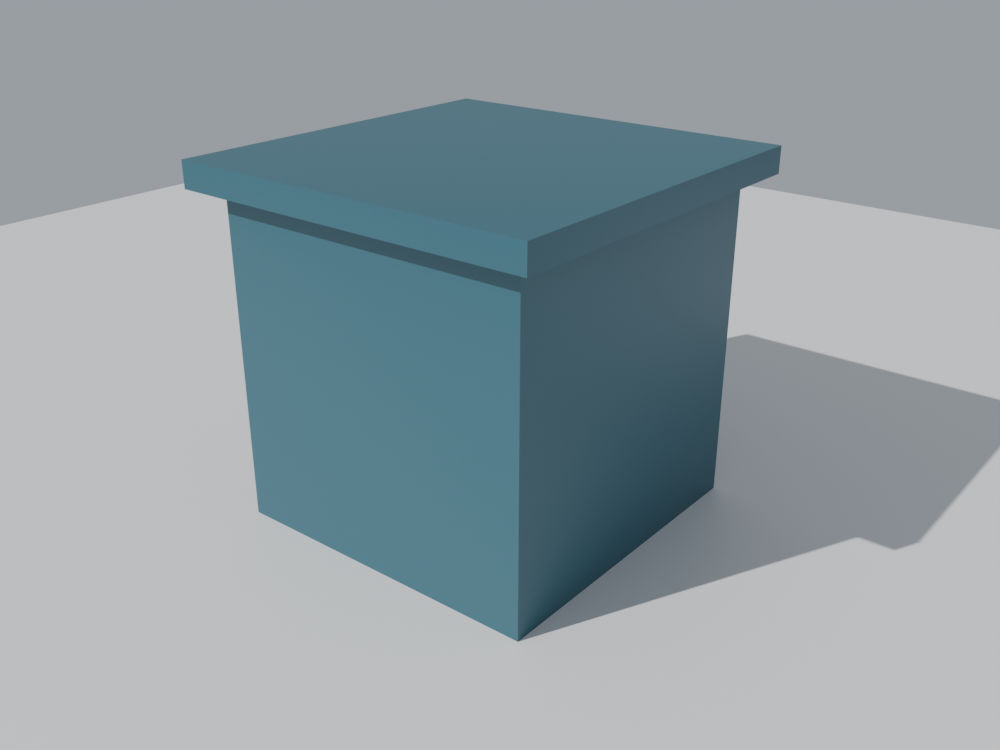
A box and a lid that overhangs it, both Cubes with enough vertices for the effects to come: 1.5 cm apart. The material is plain paint for now.
step1_crate.bn: smart_crate, crate_steel, CrateSteel
crate_steelis a shader group: its inputs (paint, and more in the next steps) are the knobs you turn, on its node in the material.CrateSteelis the material itself;SetMaterial(material: CrateSteel)gives it to the crate.
2. The maps, and two layers
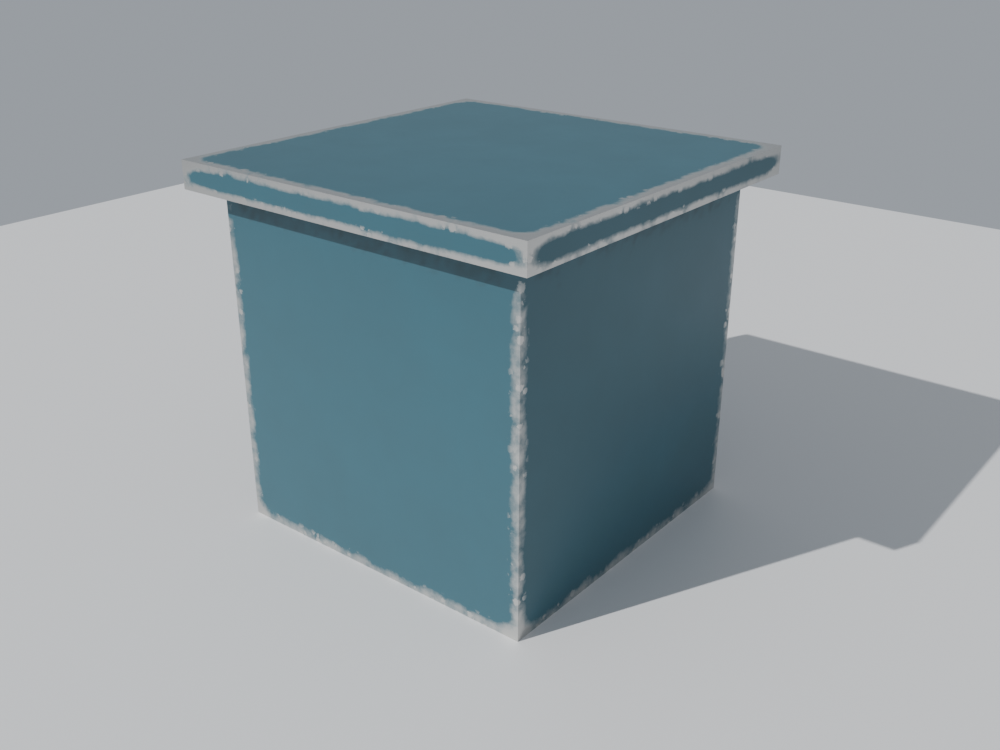
One line in the pipe, |> mesh_maps(…), and the mesh knows where its edges and its corners are. Two layers in the material use it:
step2_maps.bn: crate_steel, smart_crate
- Bare steel.
metal_edge_wearis a mask, 1 on the edges that wear;Mixlayssteeloverpaintthere. - Grime.
dirtis a mask, 1 in the corners the mesh occludes;Mixlaysgrimeover the layer before. - The surface. The same masks make the steel metallic and the grime rough.
The order of the layers is the order of the Mixes: each one's a is the layer before.
mesh_maps stored.3. Dents, rivets and chips
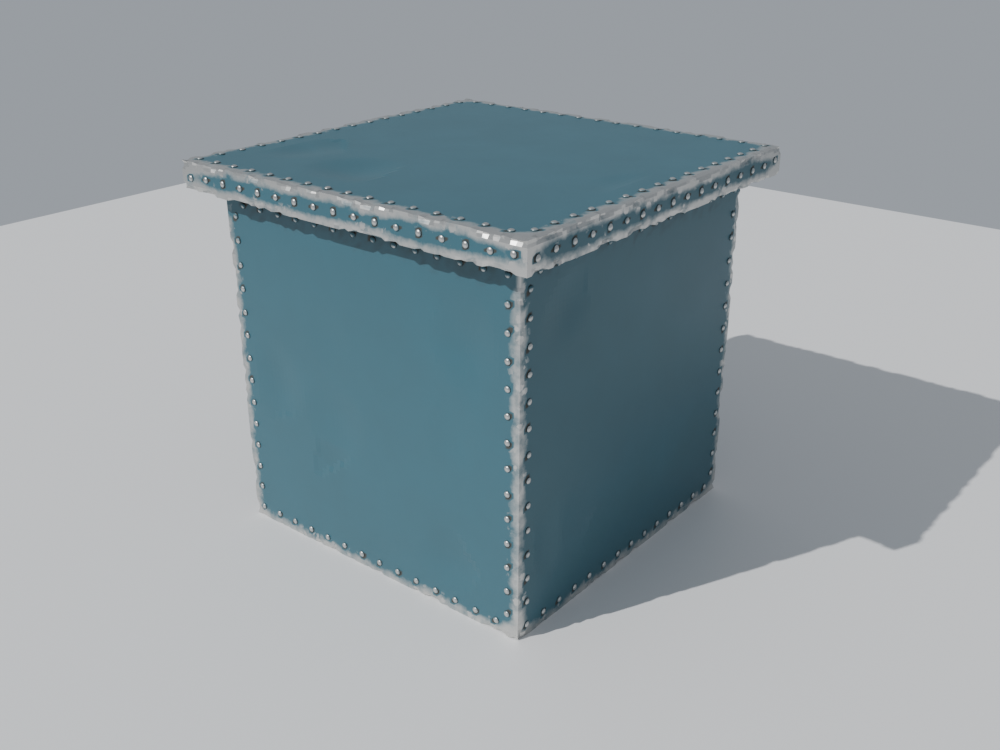
Three lines more, before the maps: the mesh is dented, riveted and chipped for real. In the material, one change: the bare steel takes e.chip too, where the mesh was chipped.
step3_effects.bn: smart_crate, crate_steel
- The order matters. The effects that change the shape come first,
mesh_mapsafter them: the maps then see the dents and the rivets, and the edge wear follows the chips. rivetreadsmesh_rivet, whichrivetsstored:selection: rivet < 0.5keeps the effects after it off the rivets.e = mesh_effects_read()gives the material what the effects stored:e.chip, and in the next stepse.streak,e.drip,e.dust.
4. Rust
Rust runs down with the rain: from under the lid, from the top of the walls, from the rivets, never from the middle of a wall. streaks traces those runs on the mesh and stores them; a rust layer paints them.
step4_rust.bn: smart_crate, crate_steel
streakscomes aftermesh_maps: it adds no geometry, onlymesh_streak, a stain from 0 to 1.rivets: 0.35: about a third of the rivets bleed rust.- The rust layer takes
e.streak, and a little rust in the cavities fromdripping_rust.
5. Paint runs and dust
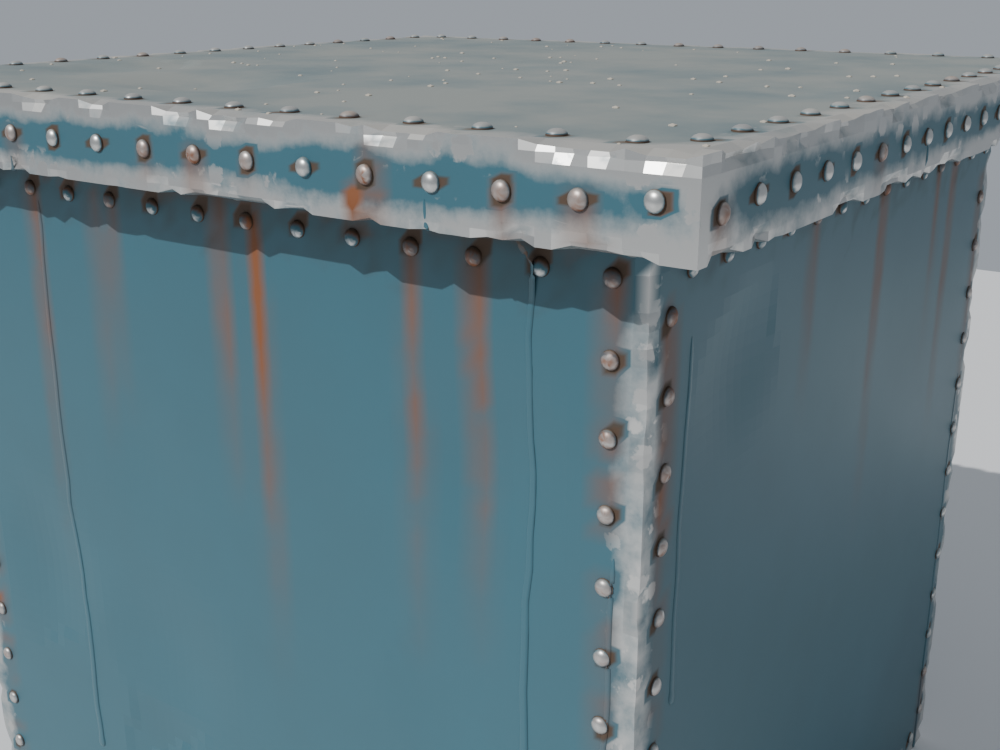
Two lines to finish: drips, paint run down the walls, and dust_scatter, specks on what faces up. In the material, a dust layer, and no edge wear on the paint runs.
step5_finish.bn: smart_crate, crate_steel
dripscomes after the maps and the rust: a drip takes the material and the maps of the wall under it, so it is painted, rusted and worn like the wall, with no grime of its own.- Its defaults are subtle: 5 mm wide, up to 80 cm long.
dropsets the drop at its end, as a multiple of its width; 0 for none.
The knobs
Every effect has its inputs; every layer its colour. A few to start with:
| Where | Input | What it does |
|---|---|---|
crate_steel | paint, rust, grime… | The colour of each layer, on the group node in the material. |
crate_steel | wear | How far the bare steel spreads from the edges. |
streaks | density, length, rivets | How many runs of rust, how far they go, how many rivets bleed. |
drips | density, radius, length, drop | How many runs of paint, how wide, how long, how big the drop at their end. |
chip_edges | wear, width | How much of the edges is chipped, and how far in. |
Try: on step 5, set drop of drips to 0, then to 2. Set rivets of streaks to 1: every rivet rusts.
To wear your own model, use your mesh instead of body + lid: the pipe and the material stay as they are. Mind the density of its vertices: the effects work on them, so a model with large faces needs a SubdivideMesh first.
Take it to Blender
The finished crate, in one file. Drag the card onto empty space in Blender's 3D Viewport and keep Instantiate the Example: a new object carries smart_crate. A click on the card downloads the file.
The steps before it, to start again from any of them:
The files, with the script that renders this page's pictures, are in examples/tutorials/smart_crate/.